
Painting the figures has been taking more time than expected, and other things have been cropping up as well to steal time from them. While that’s all going on, I thought it might be interesting to see some of the in-progress pictures.
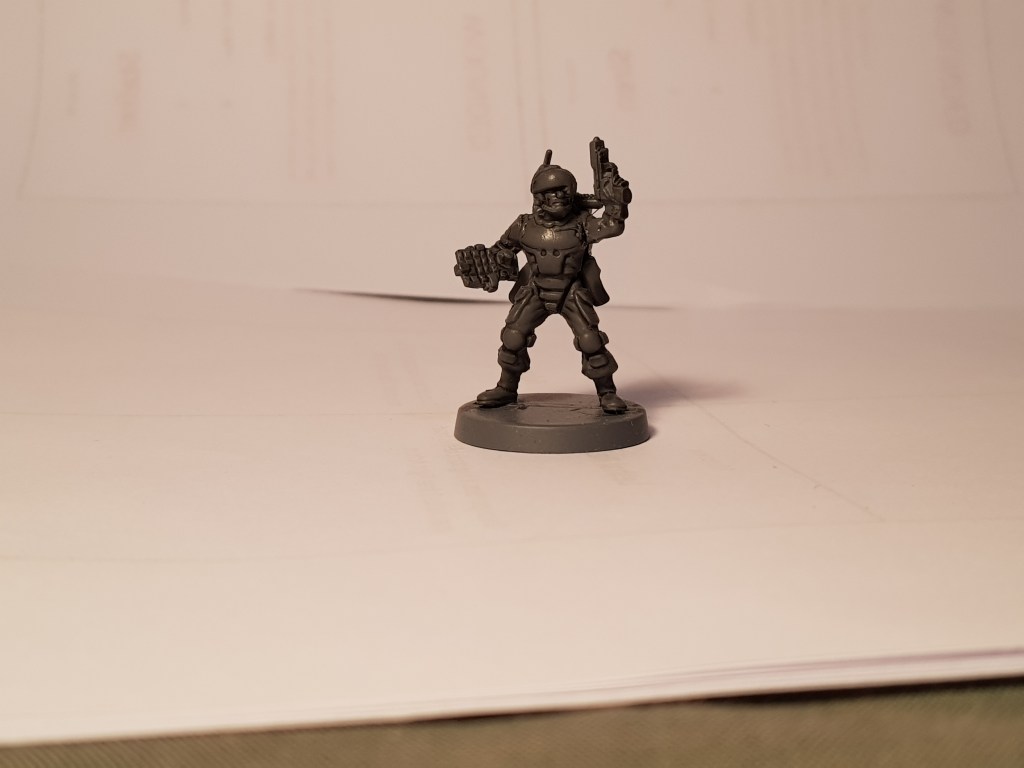
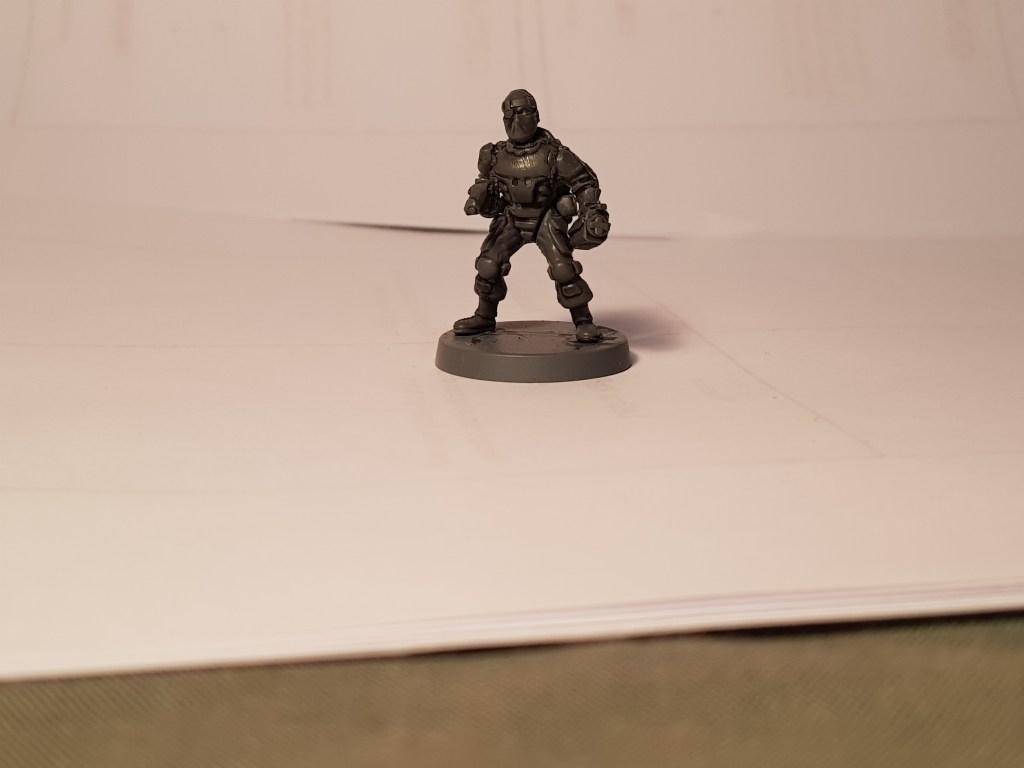
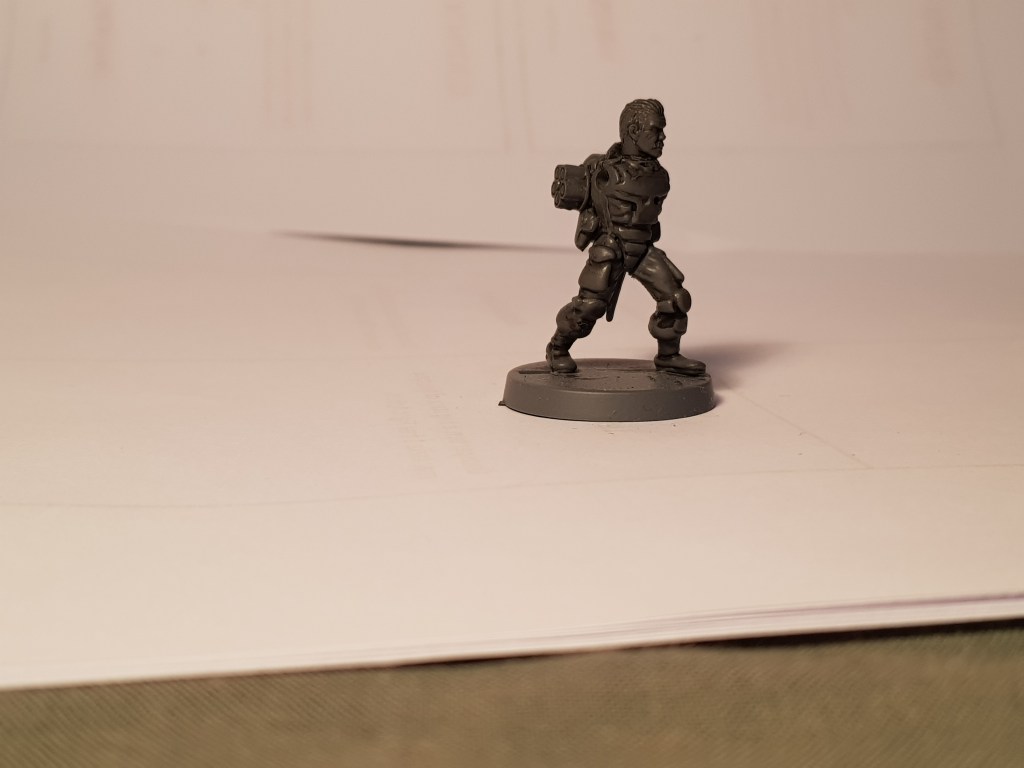
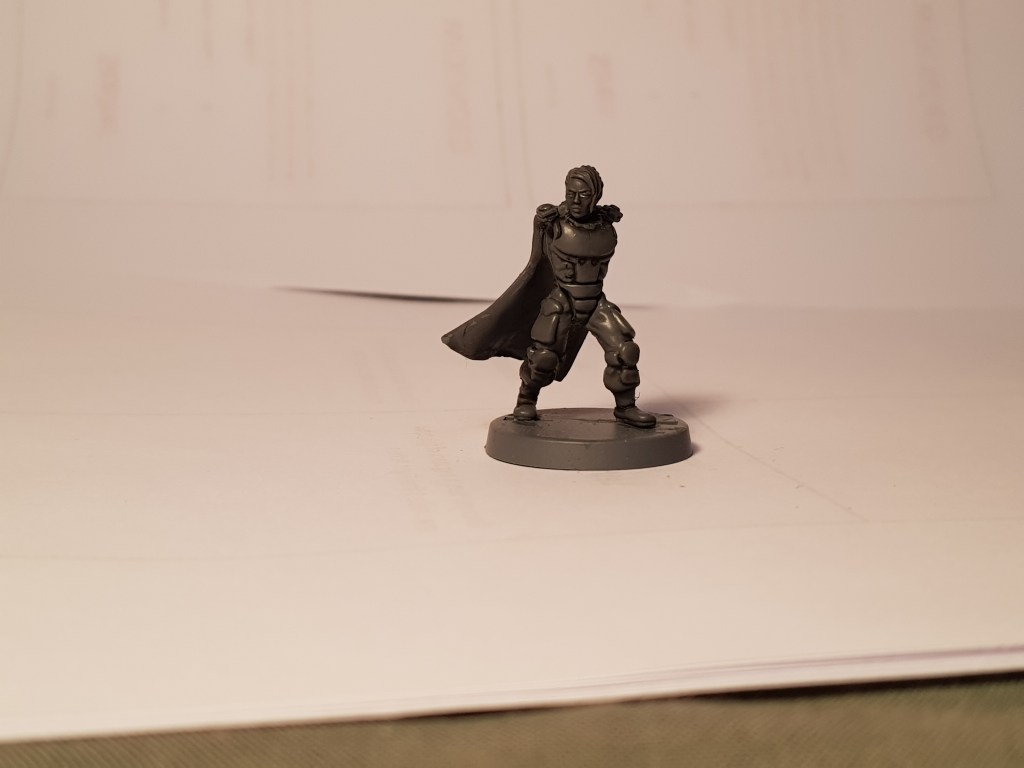
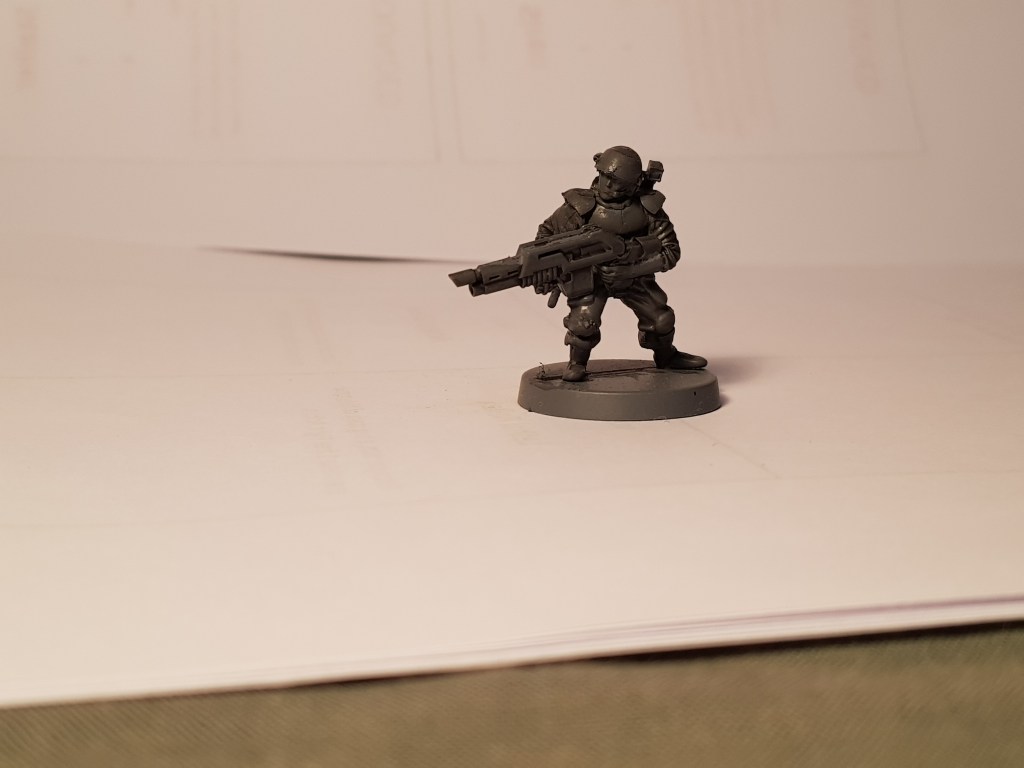
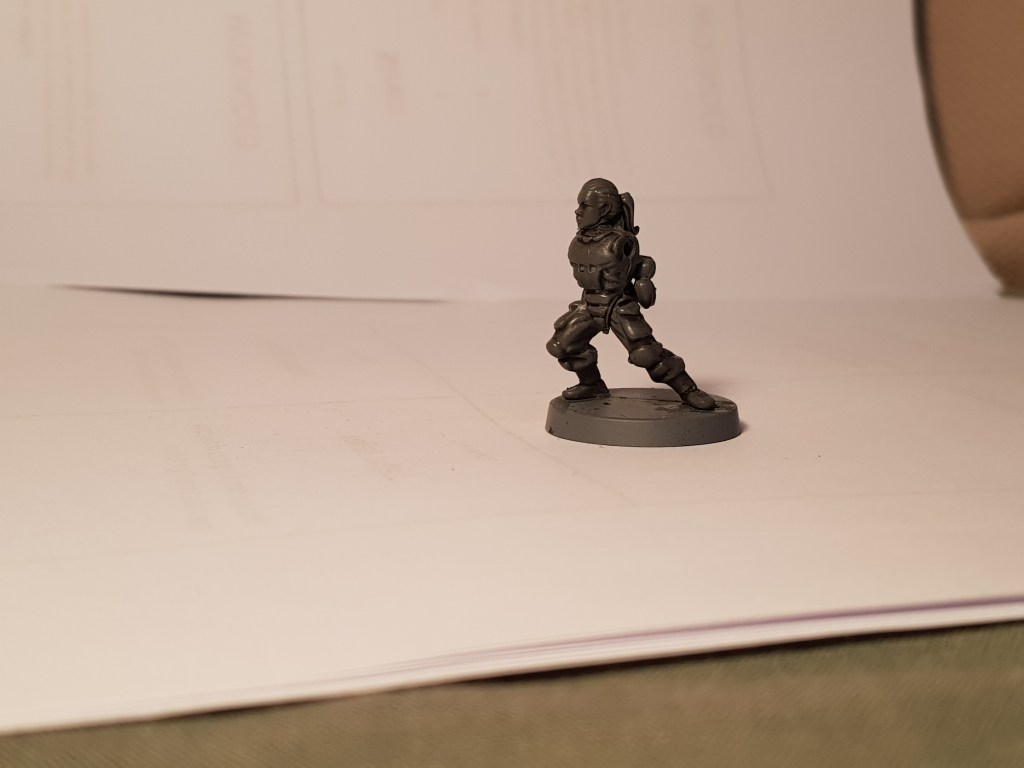
As you can see, these photos were all taken after I’d primed the figures, but before I’d begun with the basecoats.
How best to prime figures for painting like this is a subject of some debate, and I think it really comes down to individual preference. Some people swear that priming figures in white is best, because it lets you pick out the detail. Others will tell you that black is the professional option, because it hides any spots you happen to miss. If you visit your Friendly Local Game Store (FLGS), you’ll find highly expensive cans of primer in both colours.
To be perfectly honest, though, while there’s nothing wrong with the cans of primer sold at the FLGS, you don’t need them in order to get a good result. Most of the time I go to a hardware store and purchase a Rustoleum spray primer (like this). It’s about half the price, and I find the results are just as good. Just make sure you get one with a matte finish: glossy or satin undercoats have a tendency to shine through thin coats of paint, and thin coats are what you want in order not to obscure any detail.
As for the choice between priming in black or white, I usually split the difference. I generally prime in white, but put a black wash over the top. The wash has two useful effects: firstly, if I miss a spot when I’m painting, it acts like black primer to conceal the gap. Secondly, it also highlights all the detail on the figure, so I can see what I’m doing a bit better! The figures in this post are primed in grey with a black wash over them, but that’s just because I was experimenting with different colours of primer. It has no effect on the painting technique or results.
When I have more to show on the conversions, I’ll go into a bit more detail about my painting techniques!
