
Having decided on the figures and conversion parts I was going to use, in this post we’ll look at the first stages of the conversion process.
The first thing I did was trim all the flash and mould lines off the figures and parts. All of these were already pretty good, so this didn’t take long. Then I gave everything a wash with some warm water and dish soap to remove any residues from the mould. I’m not sure this step is actually needed, depending on the glue and paint you’re using, but it doesn’t do any harm either.
After that, it was time to start cutting things up. All the figures getting head swaps needed their current top removed and a notch made for the replacement head to fit into. I also cut away the little post on the back of the sniper-to-be, to allow the camouflage cloak to sit properly. At this stage I did some dry-fitting, and trimmed the conversion parts where they needed a bit of adjustment.
At this point I could pull out my glue tube and start putting things together. There’s nothing all that complex for now – it’s just gluing the torsos and backpacks together and gluing the figures to their bases. For things like this I use Uhu all-purpose adhesive. It holds well once it sets, and it sets fairly fast. Crucially, though, although it grips quite quickly it stays flexible for a while. This gives you a chance to adjust the positioning if you need to – and I need to do that quite a bit!
It’s easier to get good painting results if you paint stuff before gluing it together, but I find it difficult to handle tiny conversion parts without some sort of handle. I’m also a bit impatient! For this project, I’m trying to compromise a bit: where possible I’m going to assemble the figures and parts into modules which can be painted separately. As you’ll see, though, that wasn’t always possible.
Following the principle I just described, I then started putting together those modules. Typically that meant adding the head to the figure, and maybe some additional pouches etc. I also tried fitting weapons to arms, with mixed results. Speaking of results, let’s take a look at some of them…
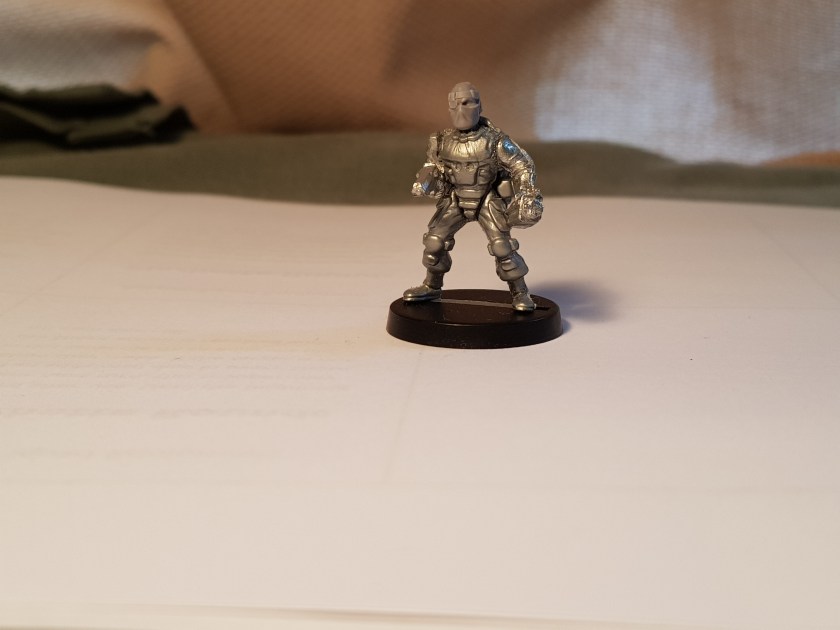
The technician was always going to be the easiest conversion. It was just a matter of replacing the arms with alternatives, and the arms had been sculpted to fit these figures in the first place. We could argue about their positioning, or the choice of left arm, but there was no problem getting them to fit and gluing them in place. Subject A is basically ready for painting. So far, so good.


The medic conversion also went fairly well. The situation with the arms is the same as for the technician, and attaching the new head went fine. Subject B looks a bit like Deadpool in that mask, but I’m sure that a bit of paint will take care of that. Again, not bad. Subject B is also ready for painting.
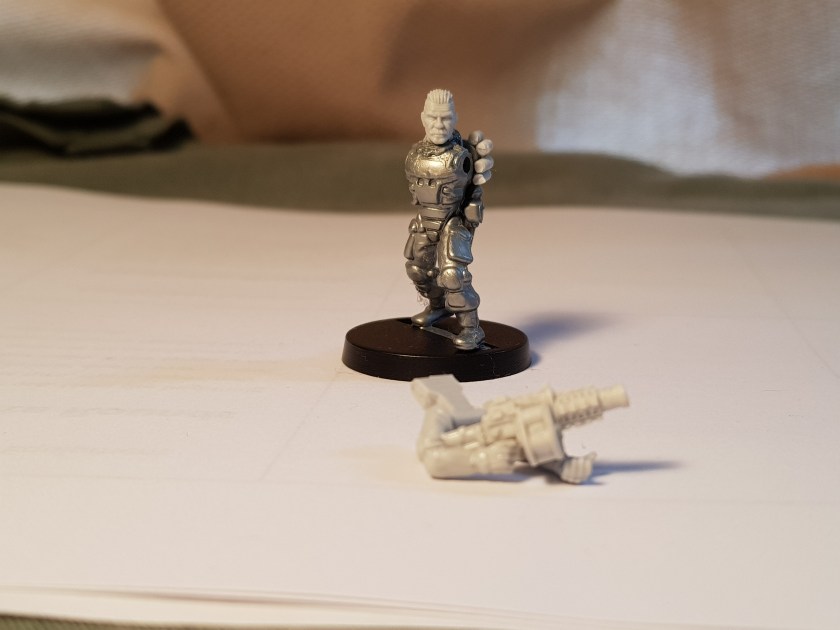

The grenade launcher conversion is going okay, but there’s still a fair bit of work to do on it. The issue is that the weapon didn’t fit nicely with the arms, so I couldn’t assemble them as a single module. Swapping the head and adding some spare grenades to the backpack went fine, though, so my plan here is to paint it all separately and then assemble the bits. I think this conversion will look good, but there’s still some work to do.

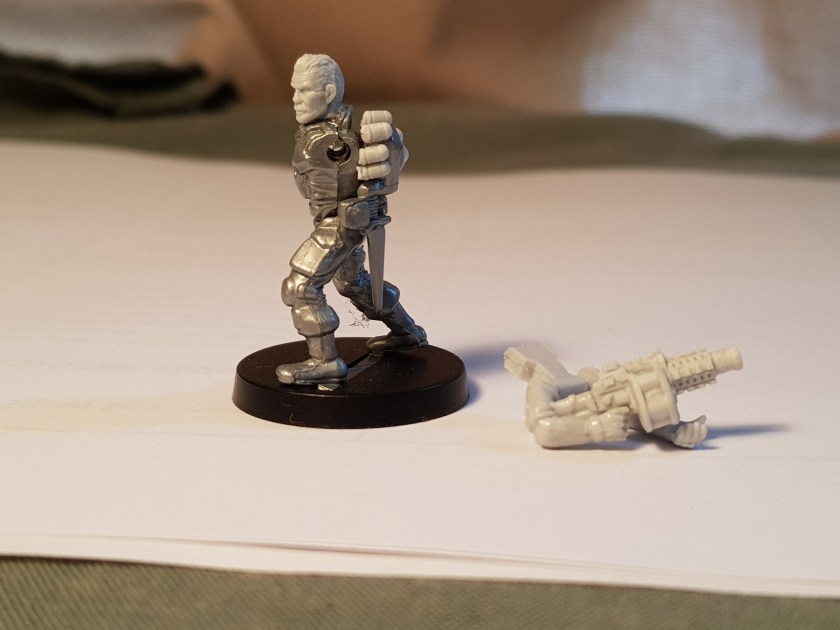
The sniper is coming along nicely! The head swap went fine, and although I was worried about the cloak at first it seems to have fitted on quite nicely. The weapon fitted nicely into the arms as well. At this point I have two modules – the figure and the arm/weapon set. I’ll paint them separately and then assemble them. I’m feeling good about this one, and I’m confident it’ll come come together well and look good.
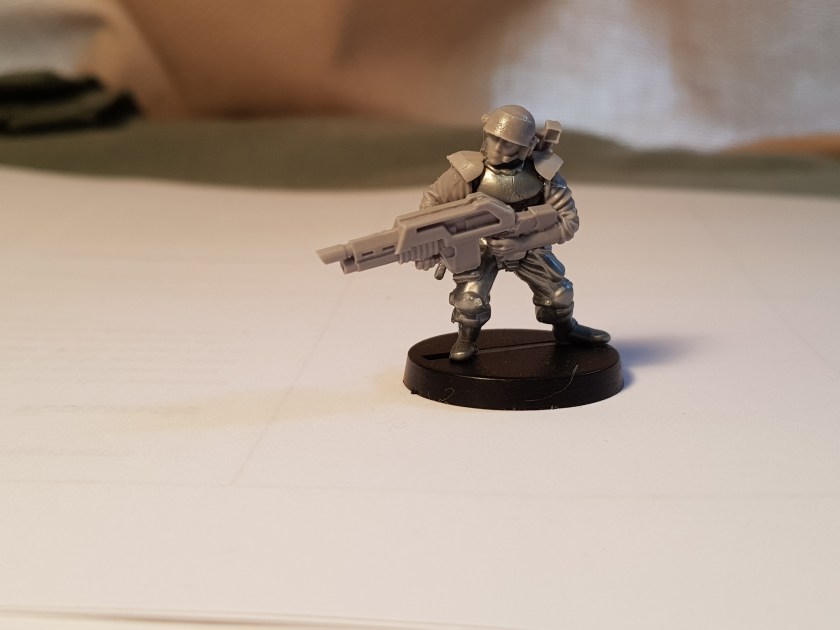
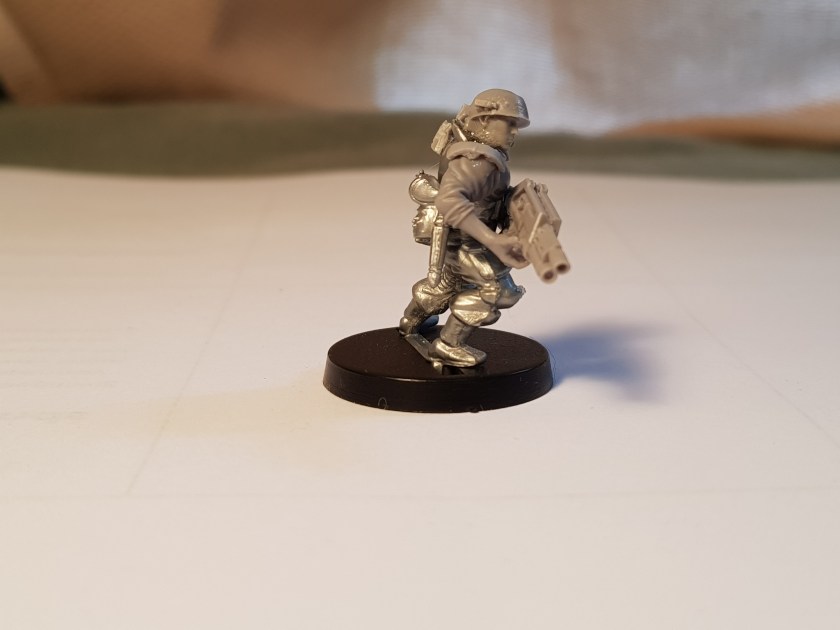

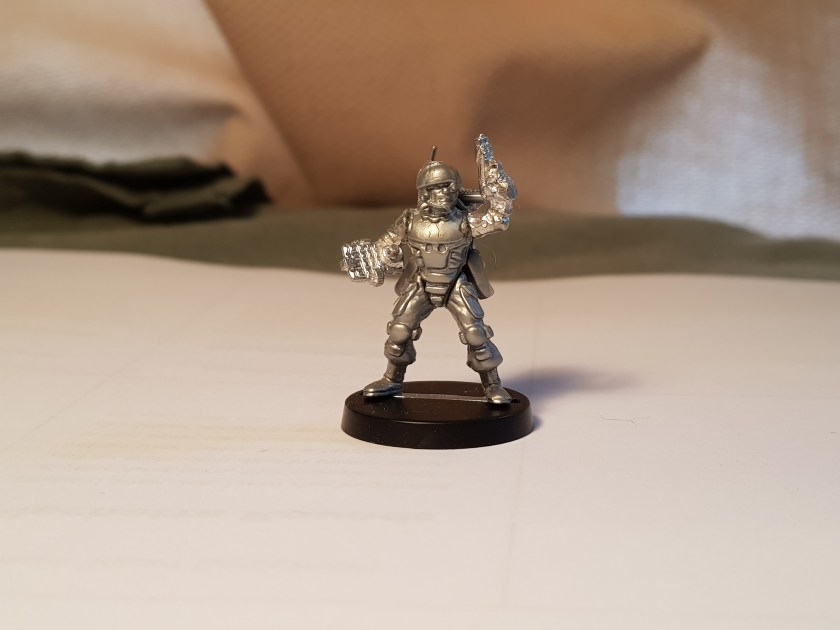
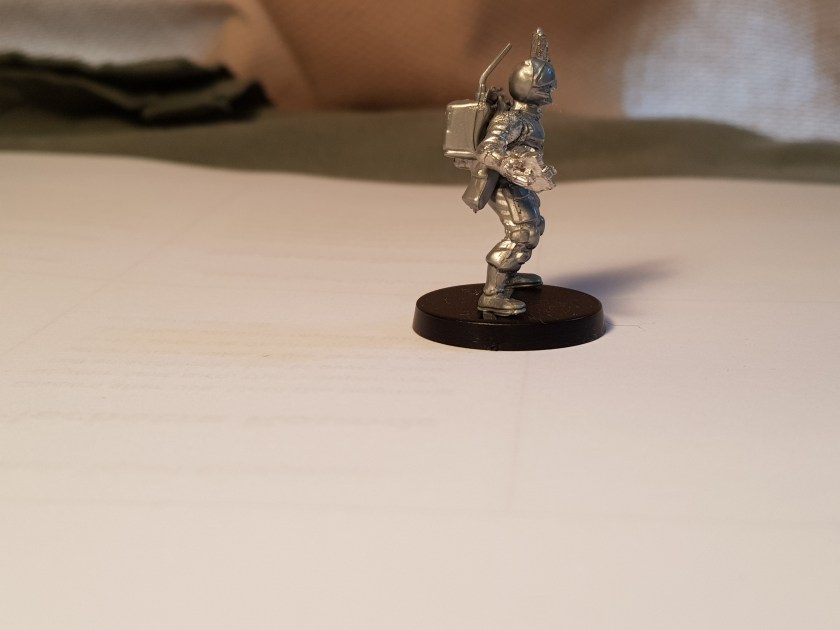
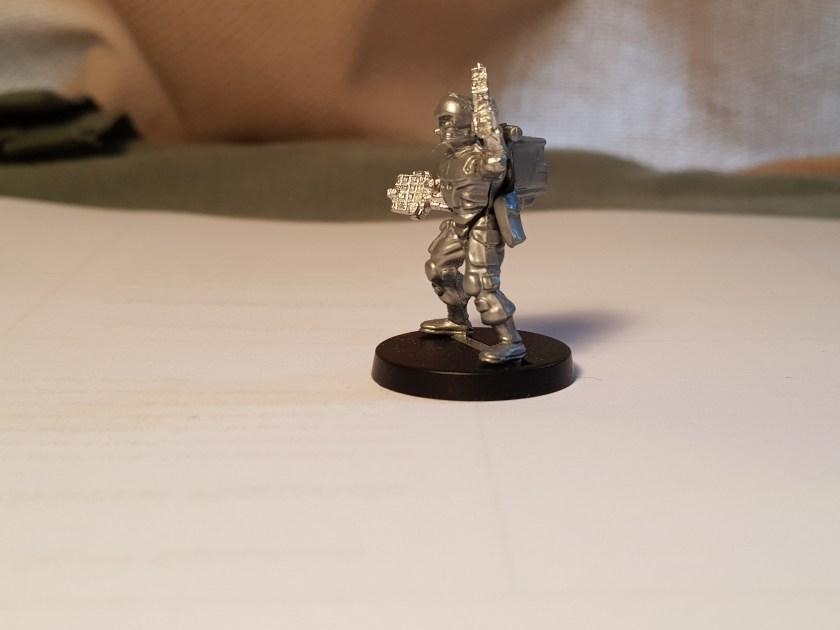
The Colonial Marine is the conversion that I like most at this stage. He’s ready for painting, but even without that I think he looks good. Now, the conversion isn’t perfect – the arms are made for figures with a beefier build than these EM4 plastic figures, but that isn’t really too noticeable and the armour plates and weapon conceal the imperfection.

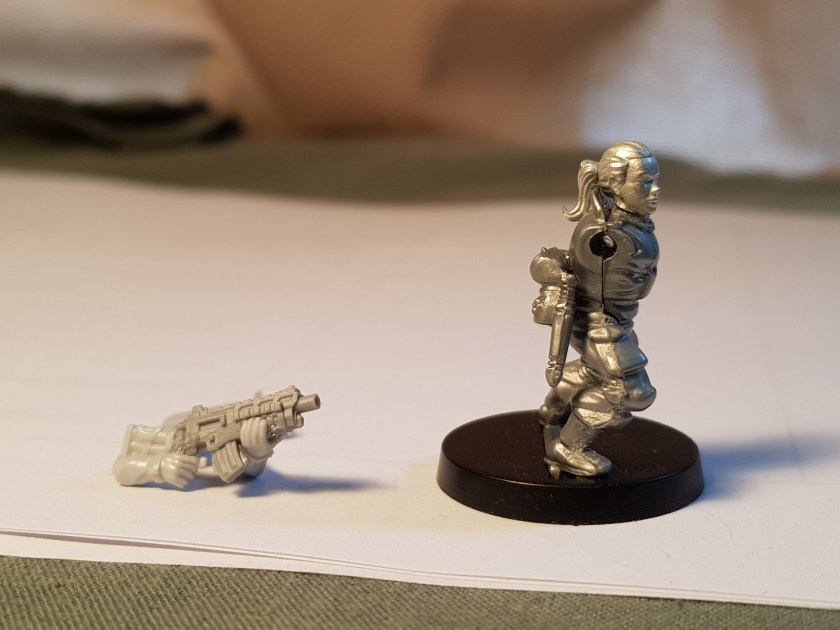
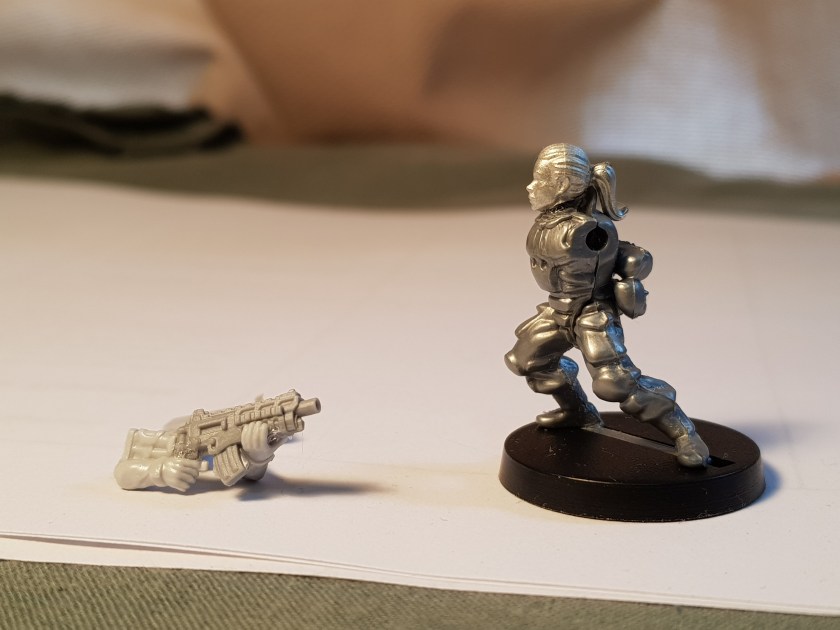
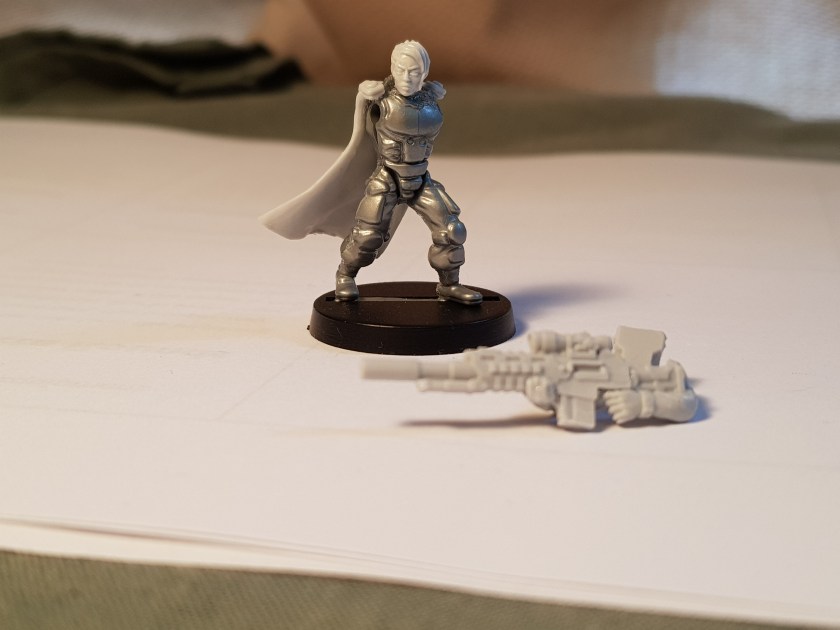
Subject F is also coming along pretty well. The arms and weapon fitted together fairly well, and the head swap went okay too (although it was very hard to get the ponytail to stay where I wanted it). This is another conversion I’m confident about, and I’m looking forward to seeing how it looks when painted.

Here’s a comparison of how the Colonial Marine figure looked before and after conversion. I think it’s quite a good example of how easy it is to change the look of a figure. The main differences from the original one are the head and the arms and weapon. I changed those, and now I have something that is entirely plausible as a member of the Colonial Marine Corps. The armour plates on the shoulder help, but I don’t think they’re absolutely necessary. The small detail of the shoulder lamp makes a surprising difference though, so if you have a specific look in mind it’s worth paying attention to that sort of thing.
As you can see, the conversions are coming along pretty well. I think it’s time to start splashing some paint around!

One thought on “Figure Conversions – Part 2”