
In a recent post, I talked about how the EM4 plastic figures are a good basis for conversions – in fact, I was going to do a few myself. Well, the time has come to put my money where my mouth is: I’m going to do a series of articles on converting some of them.
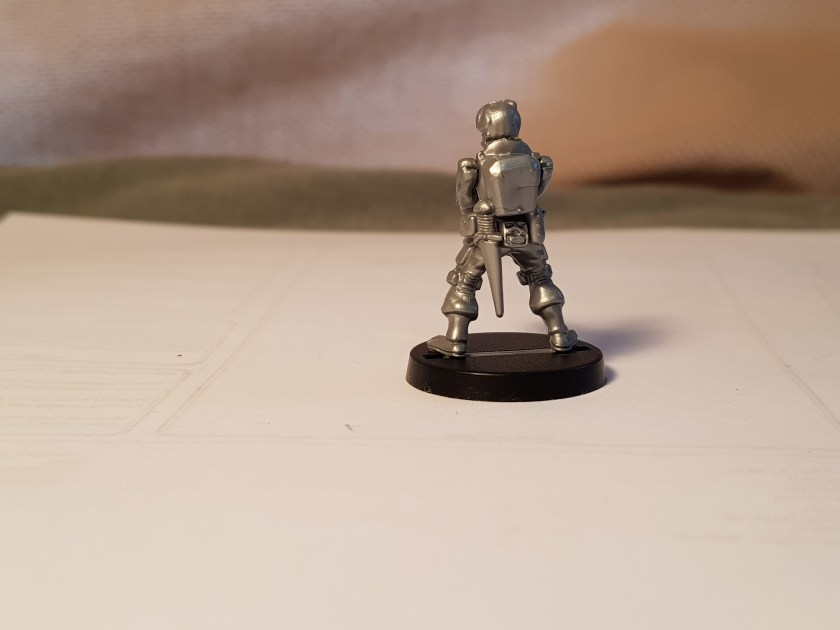
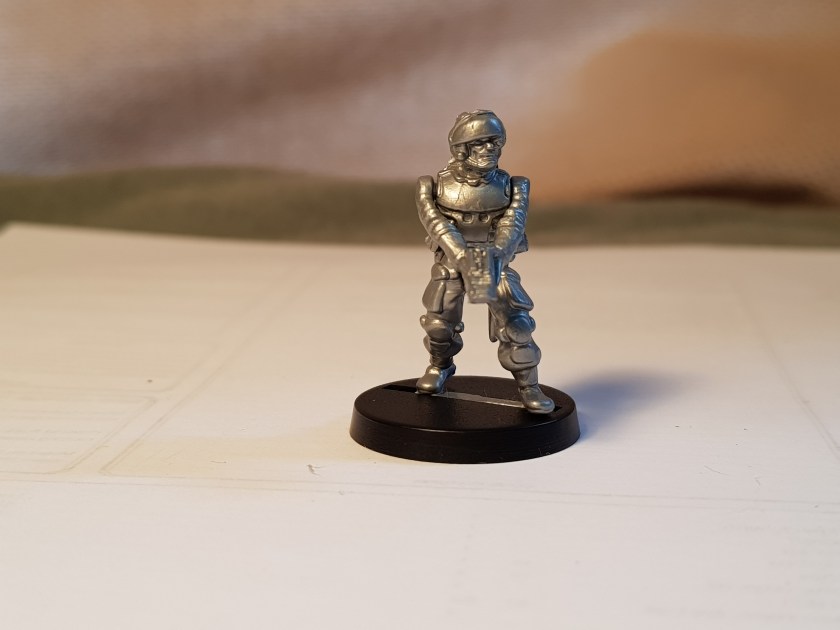
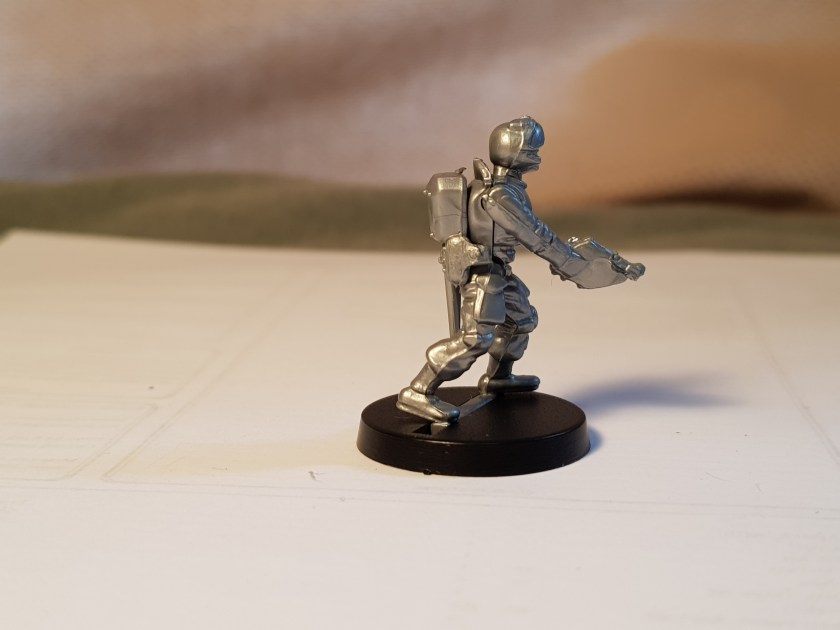
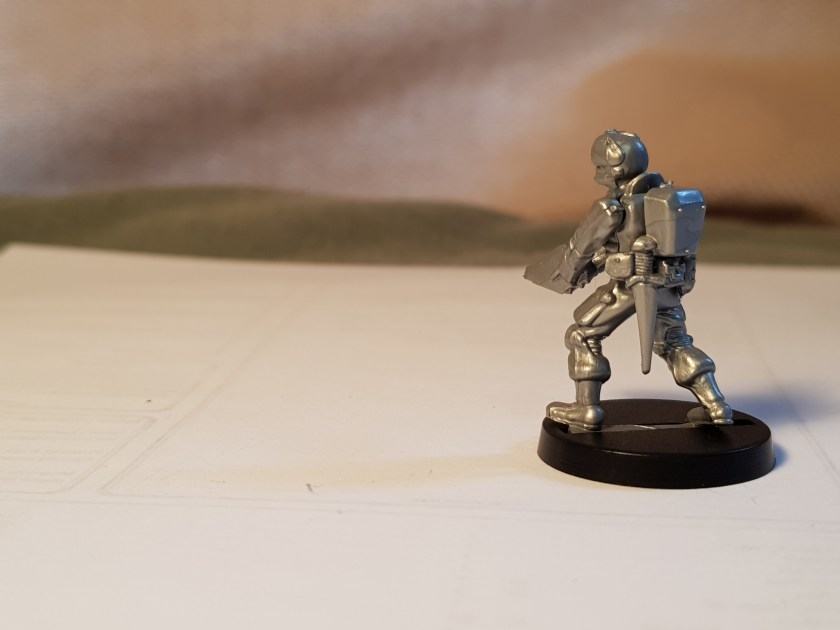
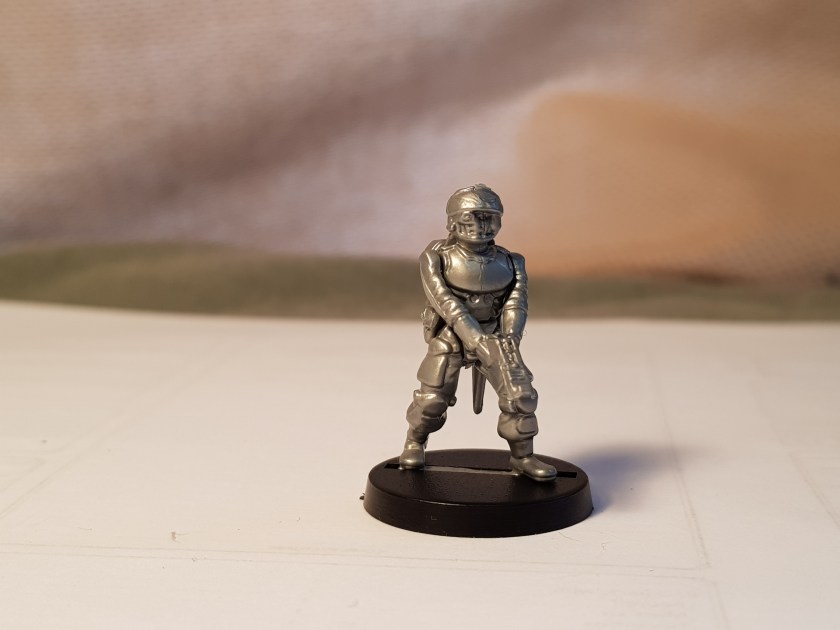
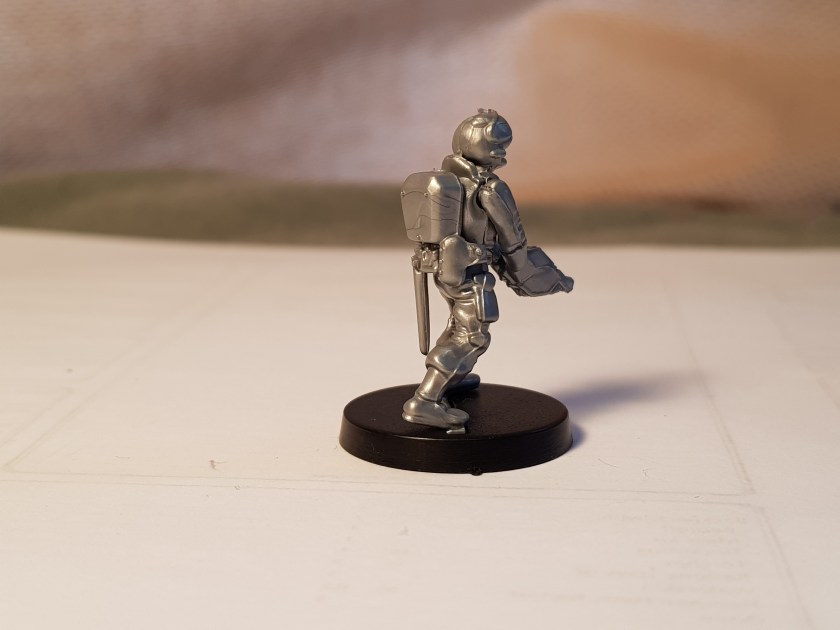
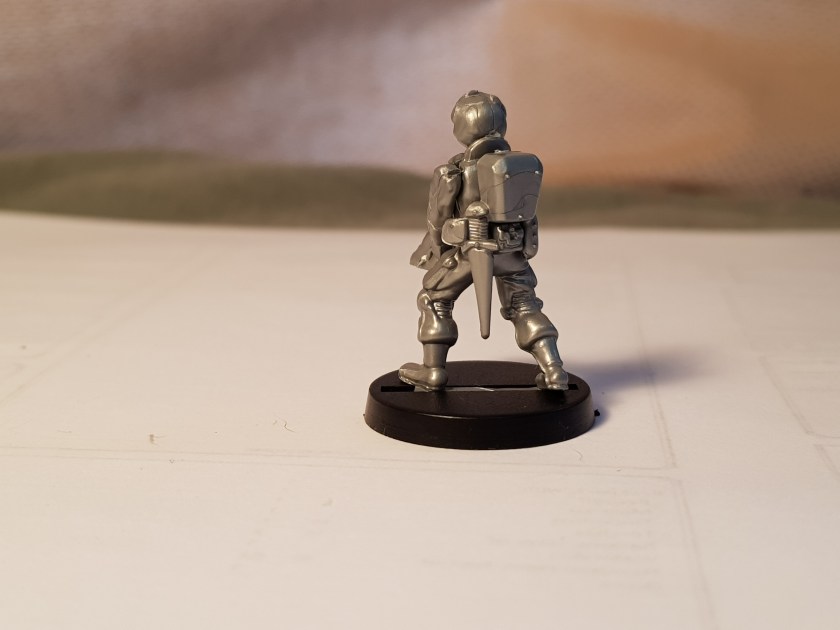
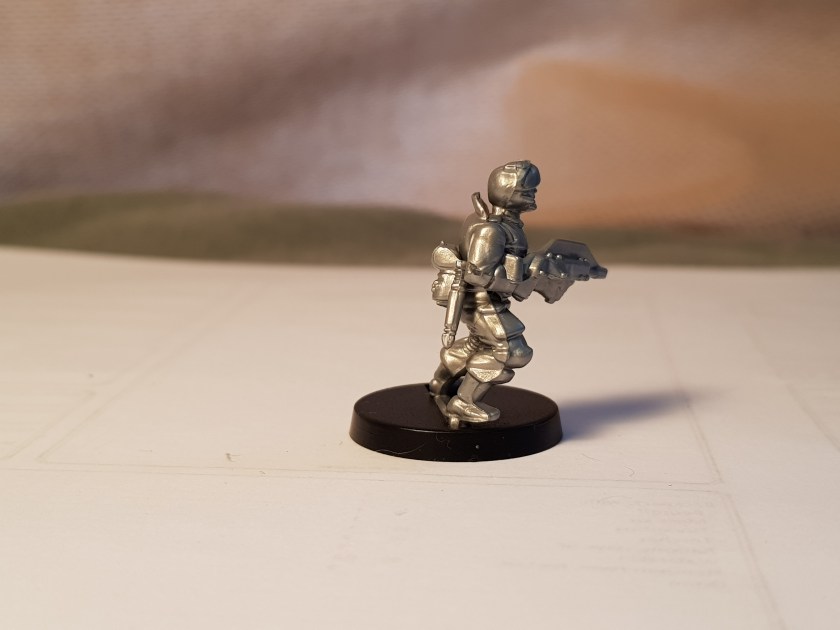
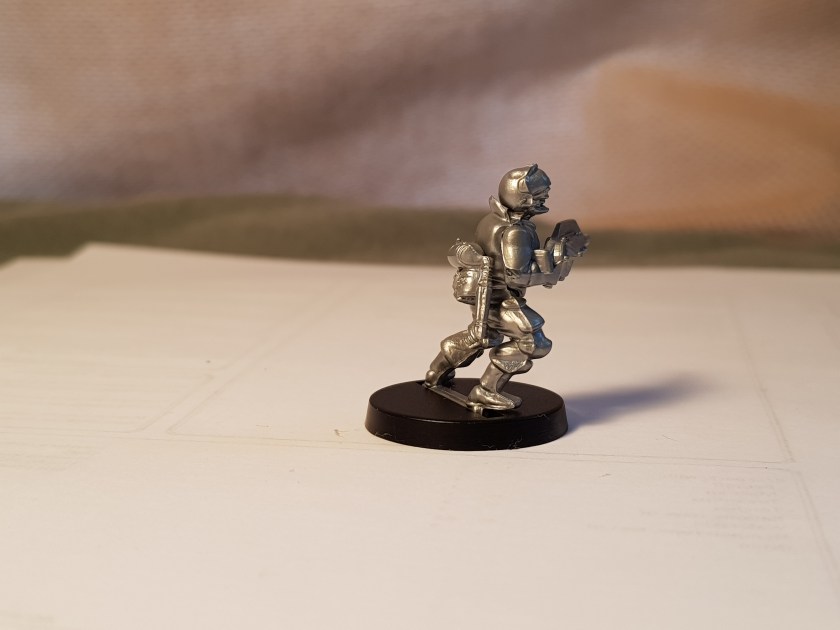
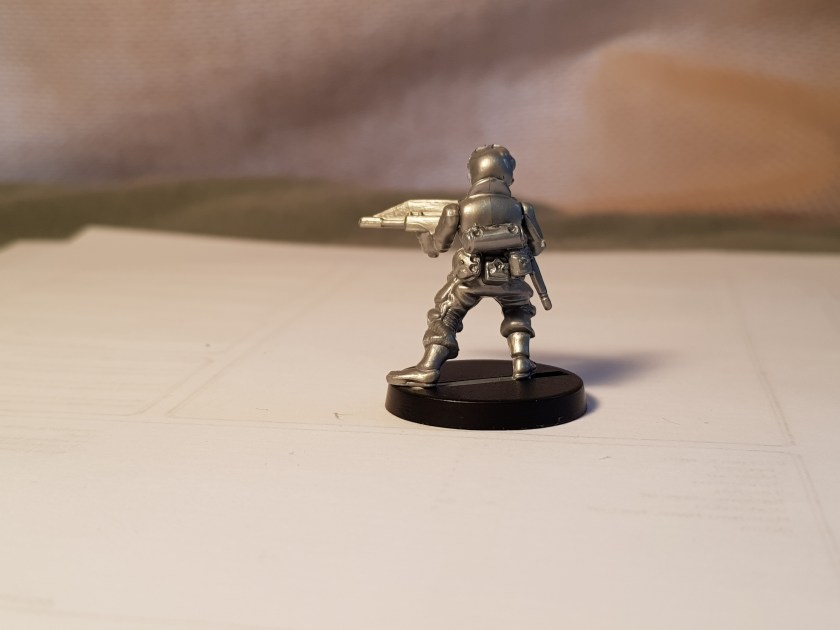
Just so we know where we’re starting from, here’s our baseline: a squad of plastic EM4 troopers.
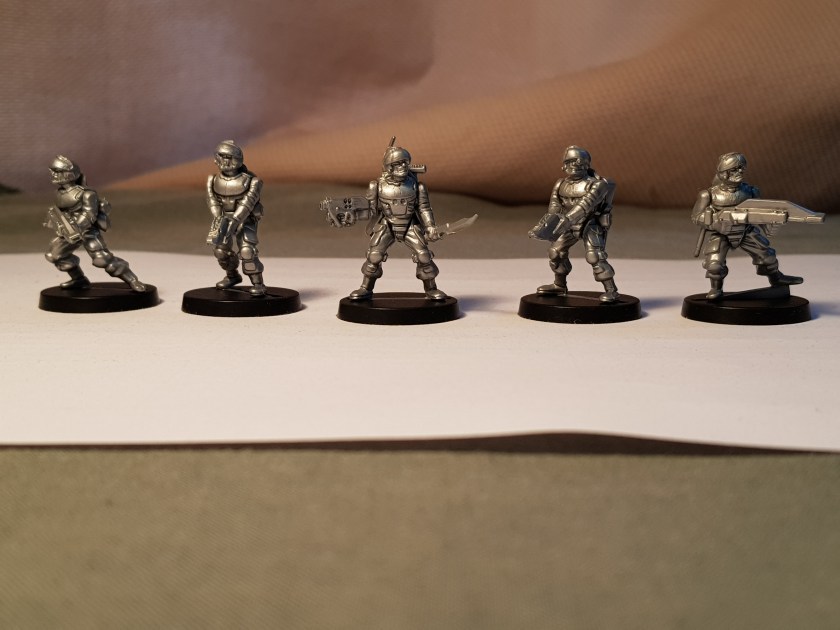
This is the standard squad configuration for a game of Close Encounters, but it’s not going to stay that way for long. Each of these plastic heroes, along with an extra pistol trooper, is going to be converted into something else. I need some specialist figures for playtesting – in this batch, I’m going to do a medic, a technician, a trooper with a grenade launcher, and a sniper. I also want to do a couple of rifle troopers. One of them is going to be a test to see if I can make a plausible-looking Colonial Marine, and the other is going to be a generic rifle trooper. There’s a special purpose there too, though – I want to compare the heads from two different suppliers of conversion parts. With all that in mind, let’s meet our participants.
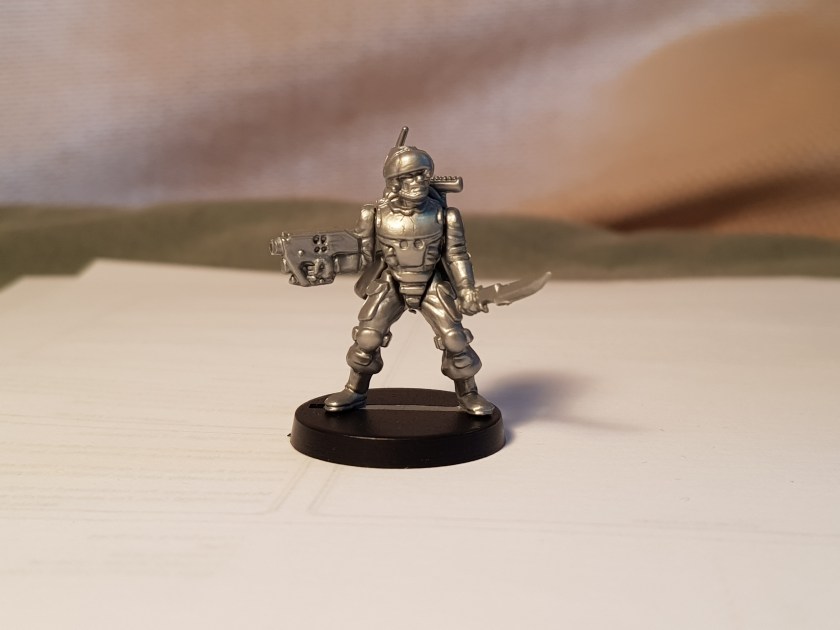

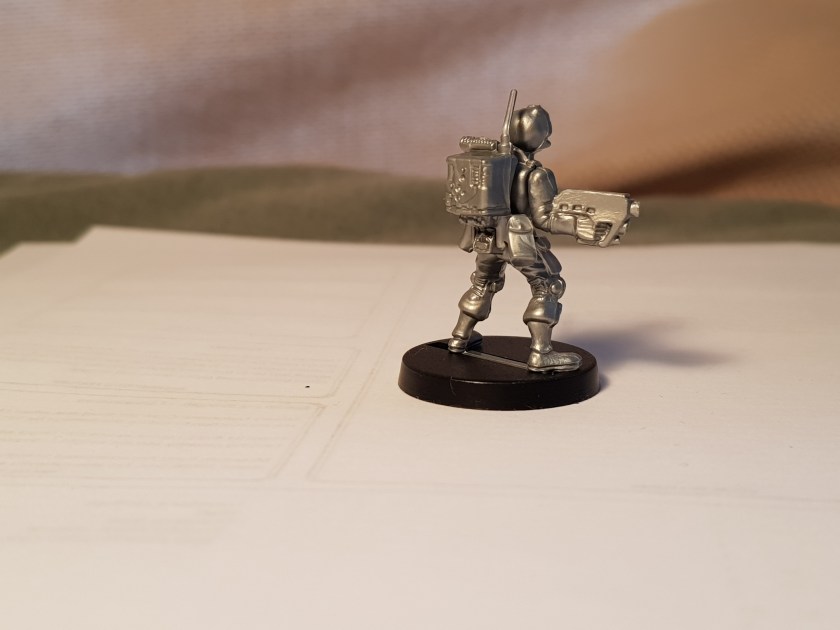

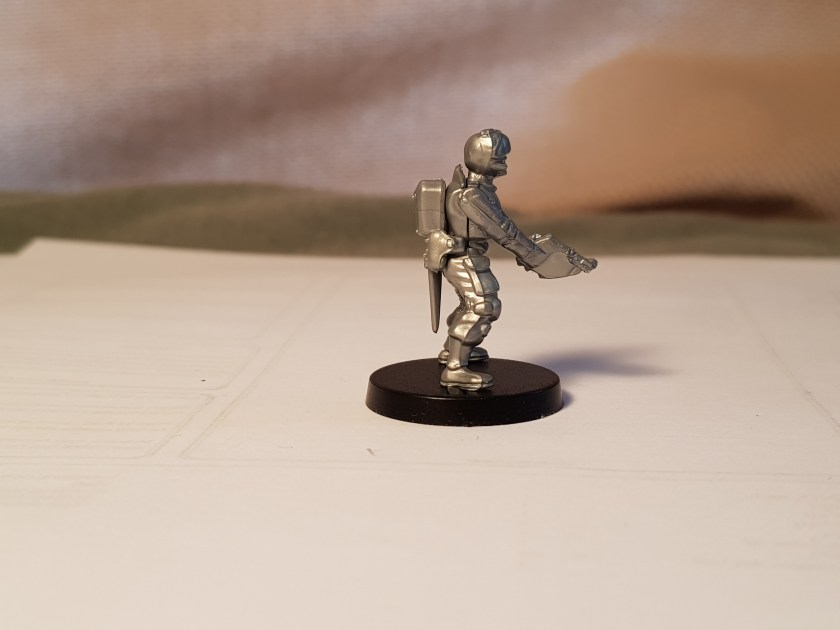
Subject A is our technician. The backpack looks sort of technical, so it can stay. The helmet looks like it could be stuffed full of communication and sensory widgets, so I’m keeping it too. This conversion will be pretty simple: back in the good old days, EM4 supplied sets of conversion arms for their plastic troopers, and one of them included bits useful for a technician. I’ll be using them, and seeing how well it turns out.


Subject B is the medic. The backpack is alright, although I might add a couple of pouches to break up the smooth outlines a bit. But I don’t like the head, and of course a medic needs medical gear! Mad Robot makes a medic upgrade for their figures, and although the other bits were used in other projects I still have the head. A couple more of the EM4 conversion arms are suitable for a medic, so I’ll be using them too.

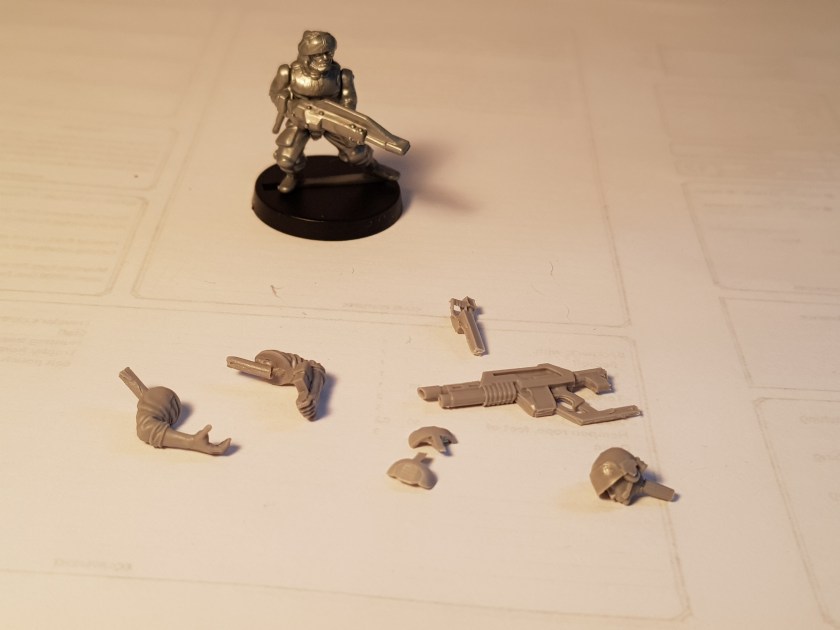
Subject C will be our grenade launcher trooper. I’m undecided about the backpack – it might be okay with some bits and pieces stuck on it. But of course the head and arms won’t work, and there are some conversion parts from Anvil Industry that I’ve been wanting to try for a while now. The head, arms, and weapon are all from Anvil. I’m excited to see how they fit with the EM4 torso and legs!

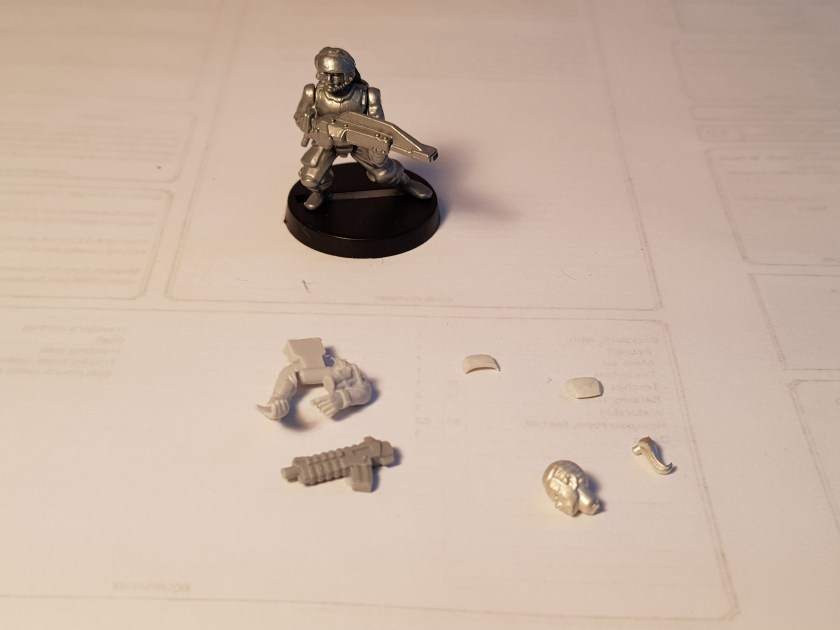
Now we’re starting to stray a fair way away from the EM4 baseline. Subject D is going to be a sniper. The backpack has to go, and will be replaced by a camouflage cape. Obviously the arms and weapon will need replacement too, and in this case all the replacement parts will be from Anvil Industry again. This is a more complex conversion, mainly because of the cape, but I hope it’ll come out okay.


Subject E is a candidate for the Colonial Marines. The torso and backpack can stay, but everything else is going to be replaced with conversion parts from Mad Robot Miniatures. The goal is to end up with someone who looks like they could have come out of the movie set, and although this conversion might be a bit complex I have confidence in the outcome.

Finally, with Subject F I’m going for what I hope will be a fairly straightforward head and weapon swap. The arms and weapon are from Anvil Industry, but the head is from Statuesque Miniatures – it’s one of their old Heroic Narrow female heads, which I think these days they call Heroic Small. I chose one as close as I could find to the Anvil Industry head I’m using for Subject D, so I could compare how they turn out.
So, there’s our initial layout. The next post in this series will show the first stages of work.

One thought on “Figure Conversions – Part 1”